What's The Current Job Market For Wooden Front Door Installation Profe…
페이지 정보
작성자 Barb 댓글 0건 조회 3회 작성일 25-11-03 07:57본문
Wooden Front Door Installation: A Complete Guide
Installing a wooden front door is a considerable home enhancement job that can enhance the visual appeal, security, and energy efficiency of your house. While it might seem daunting, with the right tools, products, and steps, you can attain a professional-looking installation. This detailed guide will walk you through every step of the process, from selecting the best door to completing touches.
Benefits of Installing a Wooden Front Door
Before diving into the installation process, it's vital to understand the benefits of a Wooden Door Specialists front door:
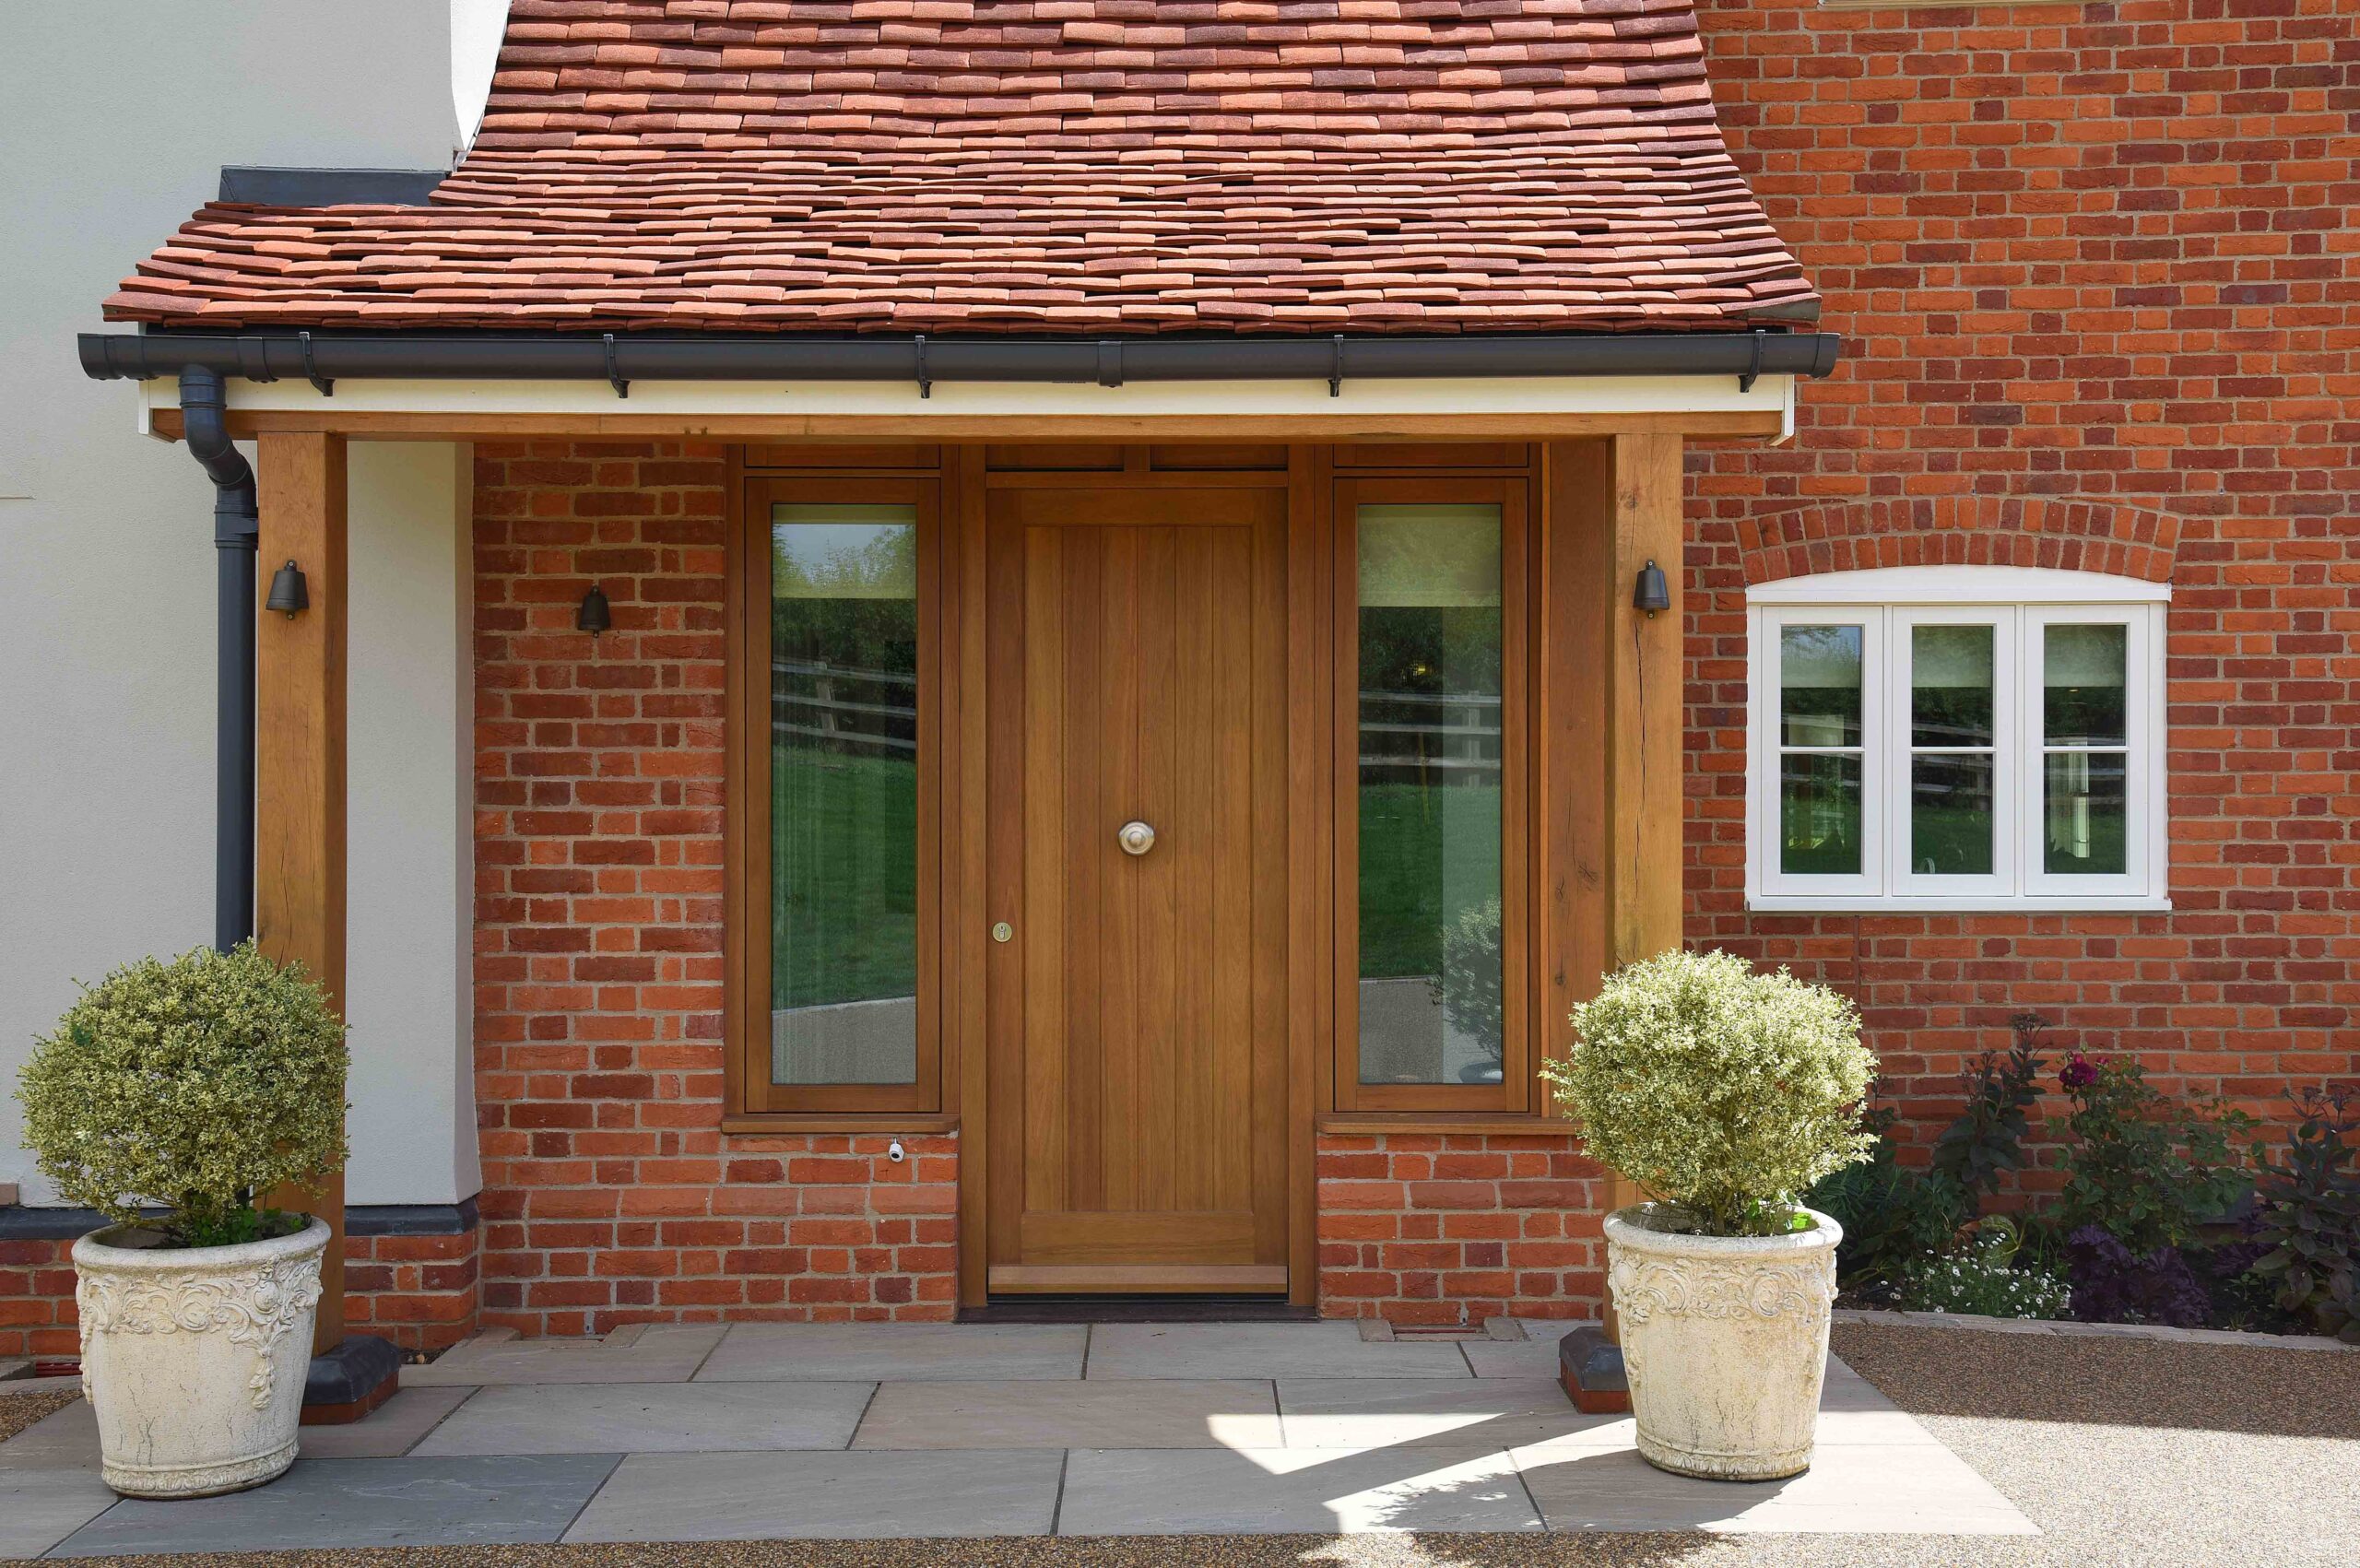
- Aesthetic Appeal: Wooden doors provide a warm and welcoming appearance, permitting for modification with different finishes and styles.
- Energy Efficiency: Wooden doors can create better insulation, helping to keep consistent indoor temperatures and minimize energy expenses.
- Security: A solidly constructed wooden Front Door installation door offers greater security compared to hollow-core or lightweight doors.
- Toughness: Wood can hold up against different climate condition when appropriately preserved.
Choosing the Right Wooden Door
Elements to Consider
When choosing a wooden front door, think about the list below factors:
| Factor | Details |
|---|---|
| Kind of Wood | Typical choices consist of oak, mahogany, pine, and fir, each using various looks and resilience. |
| Style | Select in between traditional, modern, or modern designs based on your home's architecture. |
| Limit and Frame | Make sure the door frame complements your existing trim and that the limit is weather-resistant. |
| Complete | Select a stain or paint that matches your home's scheme while supplying protection versus elements. |
| Spending plan | High-quality wooden doors can be more pricey, so develop a spending plan before selecting. |
Popular Wooden Door Styles
| Design | Description |
|---|---|
| Panel Doors | Including raised or flat panels, these doors are versatile and traditional. |
| French Doors | Double doors that open external, providing a grand entryway. |
| Dutch Doors | Split in half horizontally; perfect for allowing light and air while keeping pets in. |
| Custom Designed Doors | Tailored to fit your specific needs and aesthetic choices. |
Tools and Materials Required
Vital Tools
- Measuring tape
- Level
- Screwdriver (both Philips and flathead)
- Hammer
- Lever
- Sculpt
- Circular saw or hand saw
- Drill with drill bits
- Safety safety glasses
Materials Needed
- Wooden front door
- Door Installation Contractors frame (if needed)
- Hinges (generally 3)
- Door handle and lockset
- Weather condition removing
- Wood shims
- Wood screws
- Caulk
Step-by-Step Installation Guide
Step 1: Measure the Door Frame
Accurate measurements are vital for an effective installation.
- Utilize a tape step to check the height, width, and depth of the existing door frame.
- If the existing door frame is not square, recognize the biggest measurements to guarantee the new door fits.
Step 2: Choose the Right Door Size
Many wooden doors come in standard sizes, but it's essential to ensure you pick a door that fits your frame. Consider personalized alternatives if necessary.
Step 3: Prepare the Door Frame
- Remove the existing door, hinges, and frame if replacing.
- Tidy the area of particles and check for any damage needing repair or replacement.
Step 4: Install the Door Frame
- If utilizing a new frame, location it into the opening and utilize a level to ensure it's straight.
- Usage shims to change and hold it in place, protecting it with screws at the sides.
Step 5: Attach the Hinges
- Mark the hinge positioning on your new door according to industry standards (usually 7" from the top and 11" from the bottom).
- Use a sculpt to develop area for the hinges if required.
- Attach the hinges to the door first, then to the frame.
Action 6: Hang the Door
- With assistance, raise the door into the frame and place it on the hinges.
- Ensure it swings open and closed smoothly, adjusting shims as necessary.
- Safe hinges with screws.
Step 7: Install Hardware
- Follow the producer's instructions to attach the lockset and deal with.
- Test performance to ensure it works correctly.
Step 8: Seal and Finish
- Set up weather condition removing around the edges for insulation.
- Caulk any spaces in between the frame and wall to prevent air leaks.
- Apply stain or paint to boost the door's durability and look.
Regularly Asked Questions (FAQs)
1. How long does it take to set up a wooden front door?
Normally, setting up a wooden front door can take anywhere from 2-5 hours, depending upon your experience level and whether you have a helper.
2. Do I need unique permits for door installation?
It varies by area. Examine local building regulations to see if authorizations are required for replacing a front door.
3. Can I install a wooden door myself?
Yes, with patience and the right tools, a DIY installation is possible. However, working with a professional is recommended if you are unsure.
4. What maintenance does a wooden front door need?
Routinely look for signs of weathering or damage. Refinish or repaint as needed, generally every few years depending upon direct exposure to the components.

5. What is the typical cost of a wooden front door?
The cost can vary extensively based on size, product, and design, generally varying from ₤ 200 to over ₤ 2,000.
Setting up a wooden front door can considerably add to your home's beauty and security. By following this guide and taking the needed steps, even the beginner DIYer can successfully complete this job. Proper installation and upkeep will guarantee that your stunning wooden Experienced Door Installers remains a centerpiece of your home for several years to come. With the right tools, products, and attention to information, you can transform your entrance and boost the overall value of your home.
- 이전글How To Start A Car Wash Business Fears Death 25.11.03
- 다음글가슴 뛰는 순간: 삶의 큰 순간들 25.11.03
댓글목록
등록된 댓글이 없습니다.
